Thursday 27 December 2012

Easy Street Pt 5

Finished Part 5 today - now only have to complete Part 1 and I'm all caught up :)
I love sewing while camping - and I don't think I forgot anything this time.

 Cutting 2" purple squares

 Using a mechanical pencil to rule diagonal lines.

 All the squares cut.

 Sewing the small squares to the large squares.

 Bonnie suggested throwing away the crumbs cut from each side of the block, but I thought they were big enough to save :) ....... so, I sewed 3/8" on the 'discard' side of each triangle, then I cut 1/4" from the block stitching as Bonnie suggested.

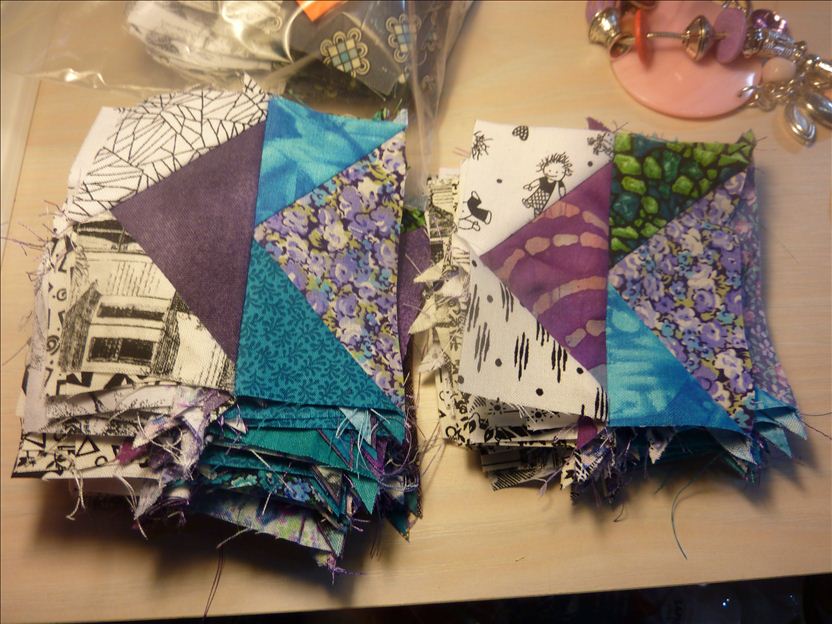
 This what I am left with. I can make a lot of things out of 128 squares like this.

 Like this mini pin wheel block.

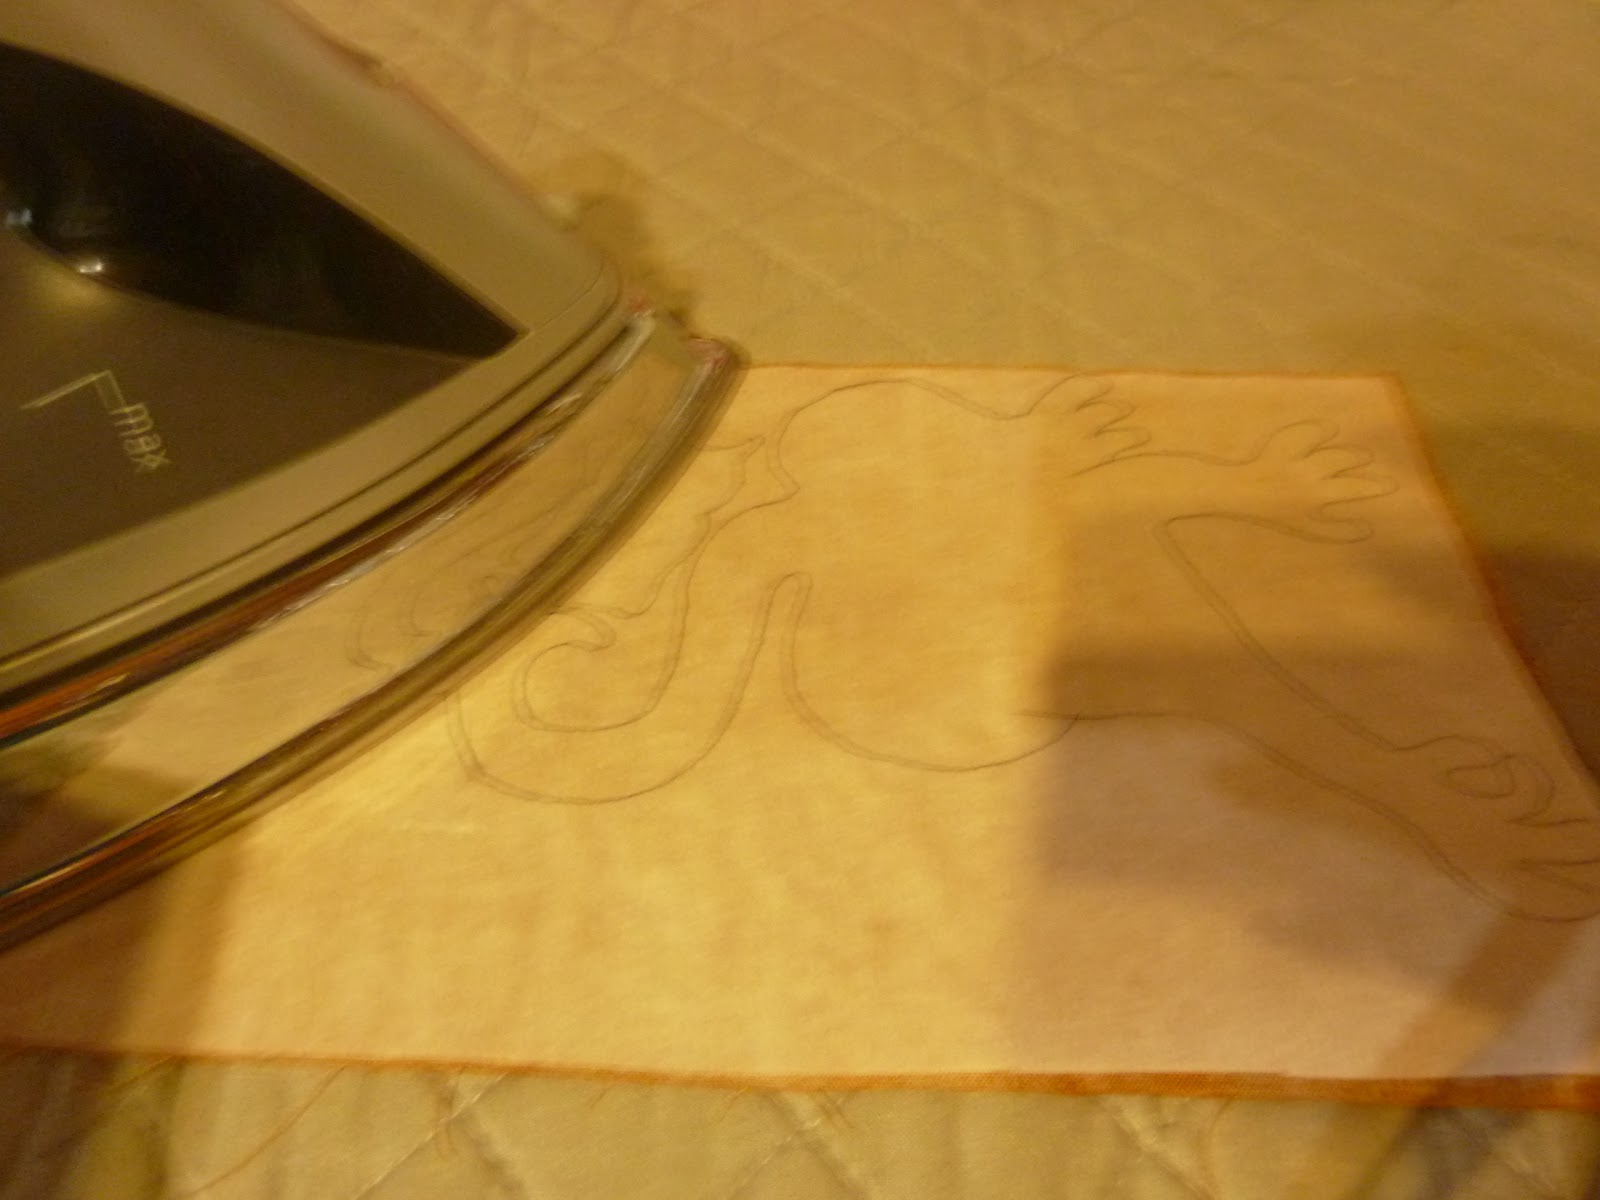
 Ironing all the blocks.

 I bought this mini travelling iron from Missouri Quilts for $10.90 - it's great for sewing camping.

 All 64 completed blocks.

 All the mini 'throw-away' blocks.

All the dog ears cut off.

Doing some sight-seeing today up in the hinterland, but will try to get some sewing in later.


Happy Sewing
Allison

Tuesday 25 December 2012

Packing for Camping

We are camping these Christmas Holidays, so I've packed a few things to keep me busy.
- Easy Street - of course.
- A quick project to cover a foot stool.
- Some Christmas mug rugs to finish.
- Some fabric to make a friend a quilt.
That should keep me going.

Happy Sewing
Allison

Thursday 20 December 2012

Easy Street

Part Two

This part involved making 128 flying goose units using the purples and the black on white fabrics.
Bonnie recommends the Easy Angle ruler and the Companion ruler - I don't have either, but I do have the Omnigrid Fons & Porter half and quarter square ruler. I did use Bonnie's pictures to make sure I was cutting the right way.


Both triangles were cut from 2" strips of material. I needed 128 of the purple half square triangles and 256 of the black on white quarter square triangles.

I forgot to take a photo of the finished block :D

PART 3

This week we needed 64 x 2" purple corner squares, 128 black on white triangles cut from 2" strips, and 64 turquoise/teal triangles cut from 3.5" strips.
Sew the white wings onto the squares to make a larger triangle unit.
Add the new unit to the teal triangles to make 64 x 3.5" squares.


PART 4

This was was more flying geese, but only 64 this time. Instead of  black on white wings we made turquoise/teal wings.

Next we added the new geese blocks to 64 of part 2 geese blocks with the new geese at the bottom.
Easy.

As a final part this week Bonnie has us cut out 145 3.5" pink squares - yay pink at last!!
Remember I agonised about using the lime green, and went back to 'my' pinks :) 


Now to post on the 'link-up' and then - sadly - do some house work!

Before I go - did some more selvage sewing - can't wait to have enough to show you what I'm making.

Sew long - until next time
Allison

Tuesday 18 December 2012

A Little Sidetracking ....

I went to the local quilting shop yesterday - they had a 40% off Christmas Kits and I had a $50 gift voucher - and purchased 3 Christmas kits.

Today I really wanted to make one of the place mats so I left Easy Street pieces on the sewing table and proceeded to make a possum and baubles place mat. This was a variation from the 'Tis the Season.'

The kit included the instructions to make the mat on the front, all the fabric, and the instructions for the variation.

 First I copied the pattern onto fusible paper.

Then ironed the paper onto the possum fabric.

All pieces cut and ready to sew.

All the fusible fabric ironed on ready to sew.

 I used gold thread and blanket stitch to machine the pieces on.

I used a textile marker to make the possum eyes.


The finished place mat - so happy with it. You know what will be in my Etsy store next year :).

Happy sewing
Allison

Sunday 16 December 2012

Christmas Santa Mats

 Last year I made Christmas mug rugs for my friends and one young mum said that it would be good to lay out for Santa's milk and biscuits. Good idea! So this year I did a Google search for Santas Mug Rugs and found quite a few different designs. I made two - one for miss Cooper and one for Miss Ava. It was fun and didn't take too long to make :-)

 Ribbons ready - I was going to use ribbons as the trees, but changed my mind - I will use them somewhere.

 I decided to use some cut Christmas strings from the Christmas stockings I made the girls.

 I then cut the triangle sections for the trees.

 See I did find somewhere to use the ribbon.

 I made a calico pocket and used the ribbon for the top decoration.
I wrote the words first then stitched over them.

Next - the quilting. I used gold thread, which is at times difficult to use as it breaks frequently, but all went well.

One finished.


Add a Santa letter and drink of choice.


Happy sewing
Allison