Craftsy BOM
http://www.craftsy.com/class/The-Craftsy-Block-of-the-Month/50
I love seeing what everyone else is doing.
I started while away on holidays, and I am using many of the colours I used for both the Orca Quilt and the Chips and Strips Quilt :-). I like these colours.

I did HAVE to go :-) to the local quilt shop to purchase some more fat quarters.
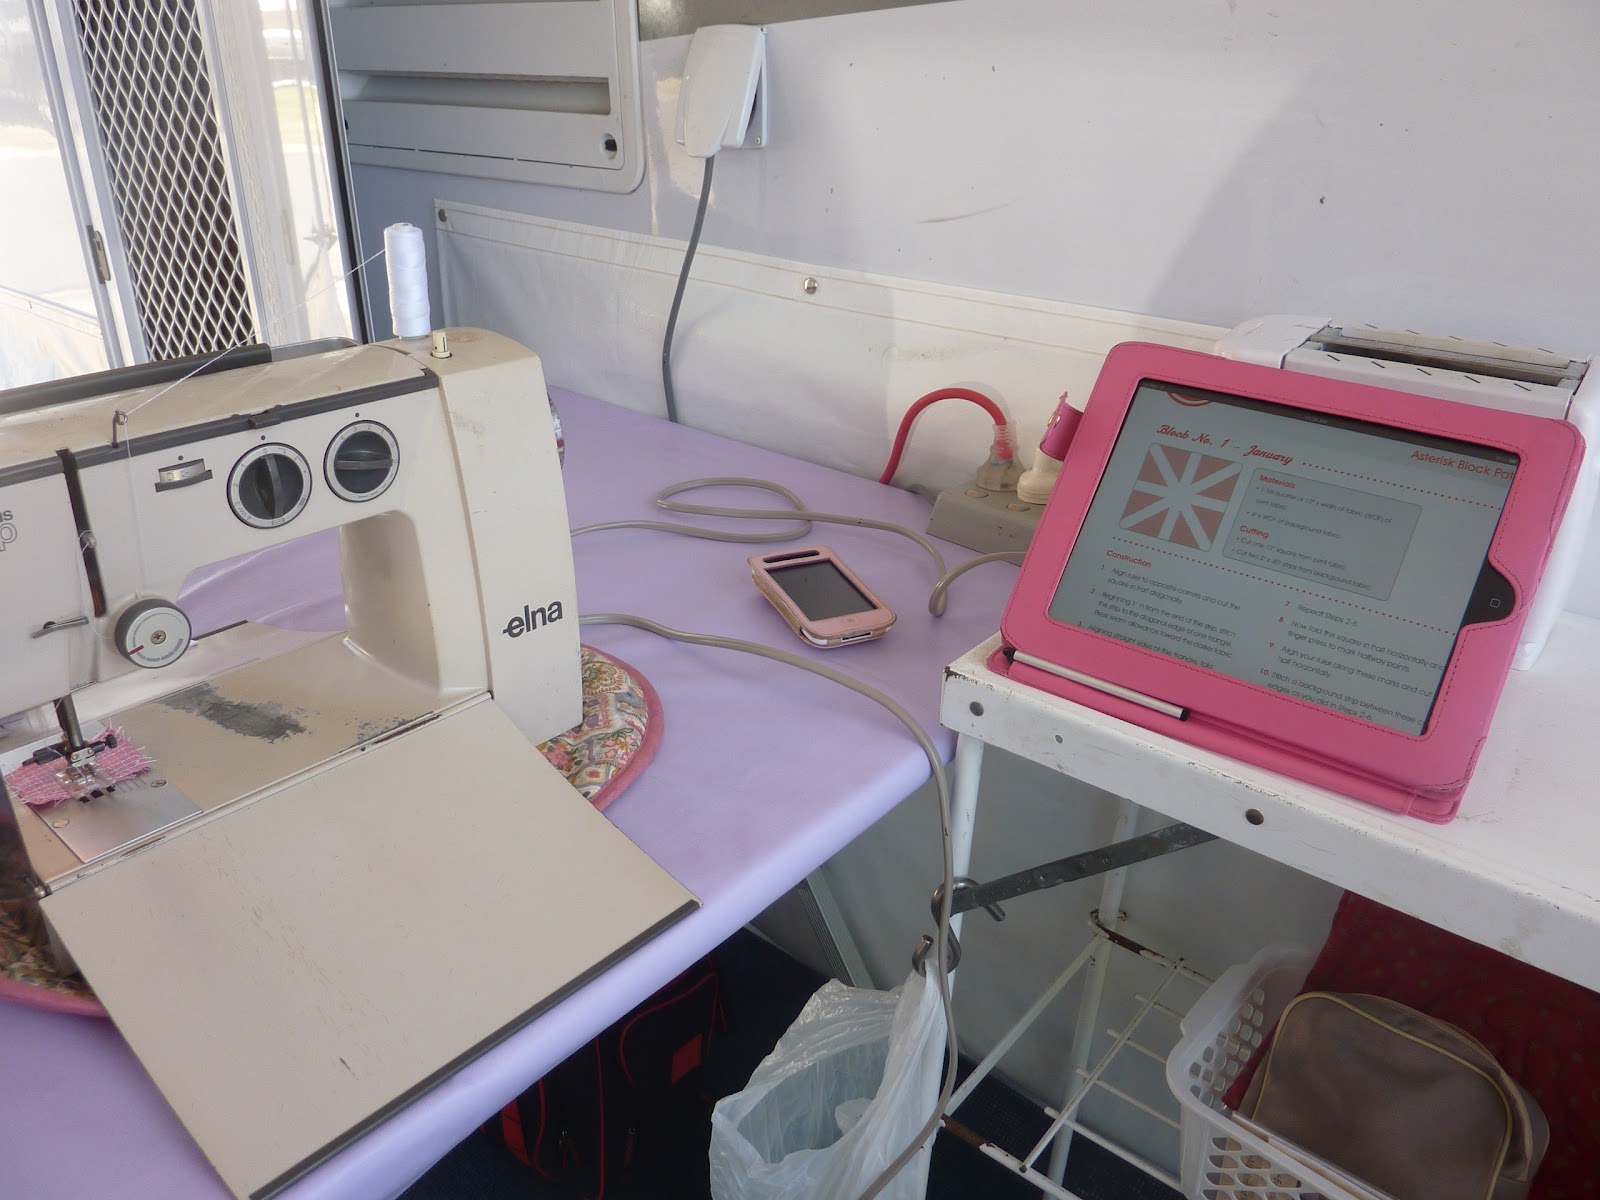
Here I am all set up. I have the Craftsy BOM instructions on my ipad. Beautiful day in Forster.

JANUARY Block One - slashed block


JANUARY Slashed Block Number Two


Here they are pegged up on the awning of the van.

Now to February Blocks Three and Four - using half square triangles.
Now I'm home I can go to my stash to get extra fabric - this is what I can up with.

FEBRUARY Block 3
The Balkan Puzzle Block

I tried the layout two ways and decided on the dark in the centre.


FEBRUARY Block 4
Chunky Chevron Block

So here are the 4 blocks so far

I think tonight I will get out some Christmas material and make some more blocks :-)
So one of my friends said she liked the chevron block with the triangles upside down. I didn't know what she meant, so checked and yes I had made it wrong. So I made another one - the right way this time.
March Block 5
Foundation Piecing
(Strip Piecing)
My plan was to do the Craftsy BOM March blocks that came out a few days ago. First, I had to clear off and move my sewing table. While I did that Peter decided to build a platform for my UFO stand.

I
watched the video, read the instructions, ruled the lines, and thought
"that's too wide". Well, I thought the instructions said 1.5 inches -
DUH!!! So started again. Ruled 1" lines with my 8" square ruler, and
then Peter got my regular 6.5" ruler from the van, and the 1" were
different - AGAIN DUH!!!!! The square ruler had a 1/4" allowance. Start
again!!


..and then I noticed my rotating cutting board had inches marked. At this stage I'm thinking 'stop now before you cut'.
 Anyway,
got over that problem and started sewing the purple strips. Thank
goodness that ran smothly. At least I knew what I was doing as I had
made similar for the Orca Quilt (which I must finish)
Anyway,
got over that problem and started sewing the purple strips. Thank
goodness that ran smothly. At least I knew what I was doing as I had
made similar for the Orca Quilt (which I must finish)

 Back
to the sewing table to trim away the excess. Some of the scraps I
saved, but most went into the rubbish :-( See my iPad with the
instructions in the background.
Back
to the sewing table to trim away the excess. Some of the scraps I
saved, but most went into the rubbish :-( See my iPad with the
instructions in the background.


Finished March Block 1
March Block 6
Paper Piecing

 Now to Block 2.
 Blocks finished, ready to trim


Finished March Block 2
Finished blocks ready to make the 12.5" block.

Finished blocks ready to make the 12.5" block.

Six completed blocks.
APRIL Block 7
English Paper Piecing

After reading some Q&A from Craftsy this site was suggested for hexagon shapes.
http://incompetech.com/graphpaper/hexagonal/
It worked really well, so now I'm hand sewing.
The first block was to be straight up and down, but it just didn't look right, so I think I will put it at an angle.
When one looks at the other blocks, there are a lot of angles, so I think it will fit in perfectly.


APRIL Block 8
English Paper Piecing
English Paper Piecing
The second block of the month was a sun. didn't like it much, so decided to turn it into a Scottish Thistle.


It's amazing how different lights make the block look so different.

So here are the two blocks waiting to be machine sewn onto the background. Maybe tomorrow.

Been so busy and once I had finished reports, well the first stage of reports - I decided to catch up on some sewing. May Craftsy BOM was first on the list.
MAY Block 9
Log Cabin
I love log cabin - my favourite blocks.

First was to fussy cut a center for the block.
It is a log cabin block - and I love log cabin blocks.

This is the finished block - well......................
I wasn't so happy with it, so went back to the instructions.
Yes..instructions - and I read them incorrectly. So back to the sewing machine.

So this time I did it according to the instructions.

...and it looks much better.
MAY Block10
Wonky Log Cabin
Wonky Log Cabin

The second May block was named a wonky log cabin.
I actually made the two blocks at the same time. I used each one as an anchor cloth the other.

This block is more like a crazy patch block and it would have been
better if I had used more irregular shapes like a crazy patch.

I like it, but may re-do it later as a real crazy patch.

This is my anchor cloth. I have always used an anchor cloth and feel it
helps with each end of the block pieces and tends to stop stitches
falling out.
JUNE Block 11
Modern 9 Patch
JUNE Block 12
Modern 9 Patch
JULY Block 13
Dresden Plate Blocks

I
cut 20 'blades to make the first block. I was lucky that a few weeks
ago I ordered from Missouri Quilts a Dresden Plate template, and it
worked so well.
I started by folding each blade and stitching along the top.

I
then turned each blade the right way to make a point at the top. Amy
suggested starching, and I didn't but they still turned out fine.

I laid out all the blades and rearranged to make a pleasing pattern.

Then proceeded to sew each pair together, then each sewn pair to another.

I then centred the sewn blocks on the background fabric and appliquéd them on.

I used a straight stitch with purple thread.


I pinned the inside of the 'plate' to keep it in place while I made the centre.

I sewed two circles together, nicked around the edge, slit one side and turned the piece inside out.

This will give me a clear finished edge for the centre.
JULY Block 14
Dresden Plate Blocks
JULY Block 14
Dresden Plate Blocks

Now for block 2.
This is in two colours and each blade has a flat edge.

When sewing, each outside edge needs to be matched perfectly.
It doesn't matter that the inside edge is not matching as it will be covered by the centre.

To
make the edge of the plate easier to appliqué, another circle of
material is sewn, with right sides together and nicked and turned the
same as the centre.

This was then sewn onto the background block.

Finished July Block 1

Close up of centre.

Finished July Block 2
I
had fun with these blocks. Dresden Plate was not hard, and I will make
it again, especially block two. I really like the way it pops out.
August Block 14
Star Blocks
August Block 15
Star Blocks
Star Blocks
coming soon
September Craftsy BOM finished
I love looking at other quilters blogs. I get so many new ideas and
really good hints - then I feel there is not enough time to do all the
'new' things I've seen. I've been writing and sketching in my grid book
all the projects I want to start, and I will start then ... one day.


For now, I need to do the October blocks for Craftsy, so in November we can start to put the quilt together. I also need to make 5 Christmas Stockings, one for each grand daughter and 3 for orders. I don't know why I can't say NO when someone asks me to make them something. I am time poor!!!! Aren't all quilters time poor?
What is the one project you HAVE to get finished sooner, rather than later?
Allison
So today I have been working on more curves to complete the two September BOM blocks.

I thought I would show you how I've set up my colour stash for this BOM project.
As I am using two colours - purple and teal/aqua (with a little bit of
green - which I think I might take out and re-do the blocks with green)
and a light mauve with pale flower pattern as background, I have two
plastic baskets. As I used another fabric for the different blocks, I
added it to the basket. I tried to add at least one new fabric each
block. That way it was easy for me to choose fabrics for the next block.

I decided to cut 7" squares instead of 3 1/2" squares to save time.
This also gave me circles as 'left overs' instead of pie shapes.

Here are the all the arches and wedges cut out ready to sew.

I pin in the centre and then mid way between the end and centre and then
the end. The centre and the two ends I pin a number of times and the
midway points I pin only a few threads to allow for movement. Amy
suggests this and it works a treat.

Amy suggests having the wedge shape on the bottom so one can feed the
arch in gently. At times the sewing is slow going, but it is worth it.

A finished wedge.

This shows how I finger press in half and in half again (quarters) to have marks to line up to.

Block 1 -chain block pattern all laid out.

I sewed each block to make a row, laid it out again to check and then sewed each row together.

Finished block - just needs to be trimmed.

The second block was Cleopatra's Puzzle Block. Here all the pieces are laid out.

Finished block :-)
For now, I need to do the October blocks for Craftsy, so in November we can start to put the quilt together. I also need to make 5 Christmas Stockings, one for each grand daughter and 3 for orders. I don't know why I can't say NO when someone asks me to make them something. I am time poor!!!! Aren't all quilters time poor?
What is the one project you HAVE to get finished sooner, rather than later?
Allison